 how-to
How to Prepare Your Garden for Spring: 7 Essential Steps
Last Updated: October 23, 2026
Quick Summary
To prepare garden spring, clear winter debris from beds first, then loosen soil, add 5-10 centimetres of compost or aged manure, and apply mulch to retain moisture and suppress weeds. These foundational steps in early spring set up your garden for healthy growth through the season.
- Clear fallen leaves, branches and dead plant material before planting anything new
- Loosen compacted soil with a fork and mix in 5-10 centimetres of compost or aged manure
- Apply 5-10 centimetres of organic mulch around plants to retain moisture and prevent weeds
- Water deeply but less frequently, checking soil moisture 5 centimetres down before watering
- Adjust your watering schedule as temperatures rise and check drainage after rain
Table of Contents
- Step 1: Clear Winter Debris and Tidy Garden Beds
- Step 2: How to Prepare Garden Beds for Spring Planting
- Step 3: Eco-Friendly Weed Control for Gardens
- Step 4: How to Prepare Soil for Spring Growth
- Step 5: Mulch, Drainage, and Water Retention
- Step 6: Adjust Your Watering Schedule for Warmer Weather
- Spring Garden Checklist: Month-by-Month Tasks
- Conclusion
- Frequently Asked Questions
Step 1: Clear Winter Debris and Tidy Garden Beds
To prepare garden spring, you need to clear winter debris first. Dead leaves, fallen branches, and general debris pile up in garden beds and across your lawn. Before you plant anything new, you need to clear this out.
Start by removing fallen leaves from garden beds. Use a rake or your hands to gather them. Pile them in a compost bin if you have one, or bag them for council collection. This opens up space for spring growth.
Next, check for broken branches and dead plant material. Pull out anything that's clearly dead. Cut back overgrown shrubs and perennials that didn't die back completely over winter.
Don't forget to tidy the edges of your garden beds. Weeds often hide along borders. Pull these out now before they spread. A tidy edge makes the whole garden look fresher and gives you a clean slate for spring planting.
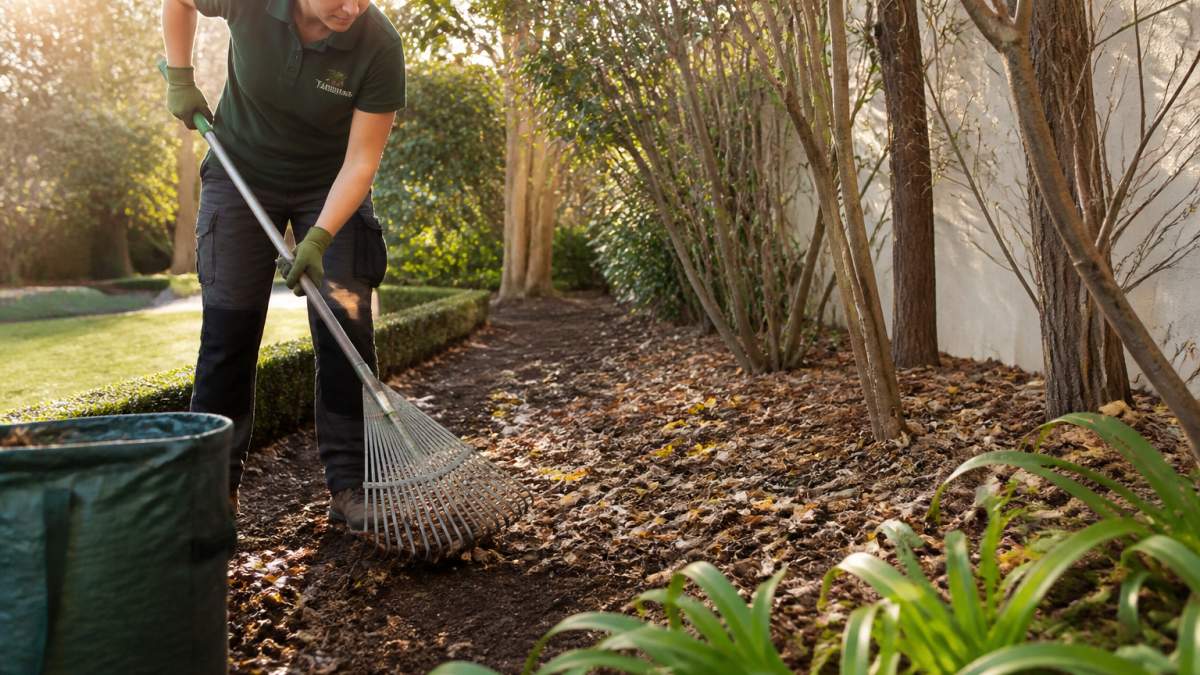
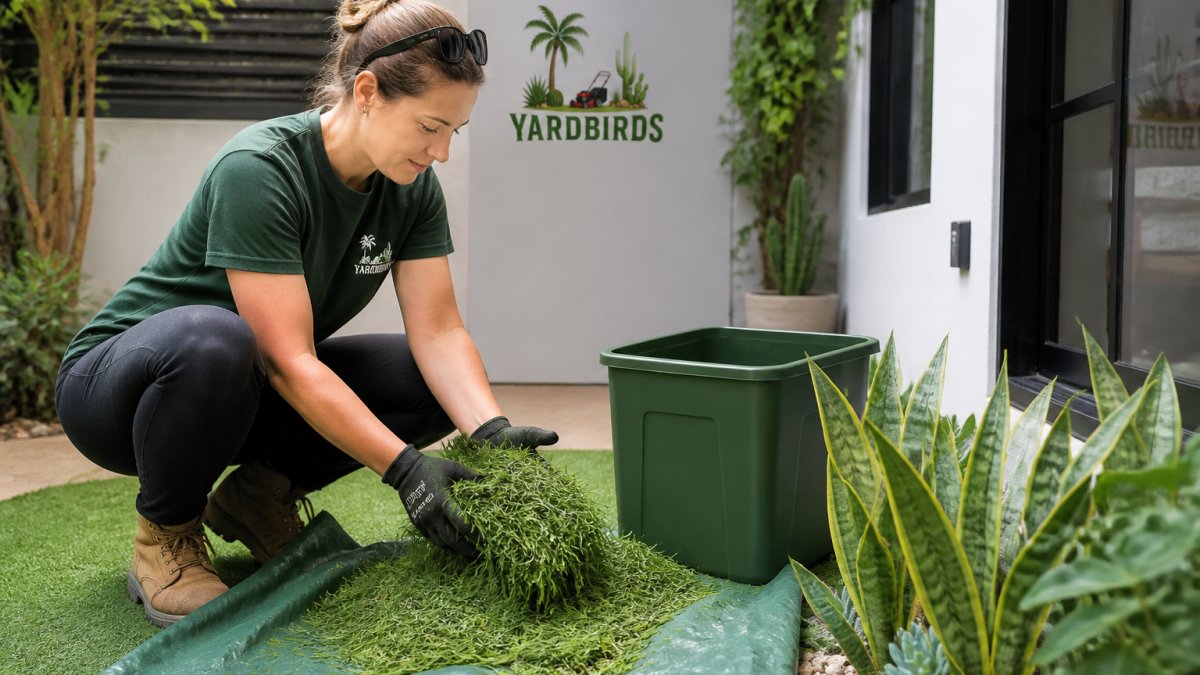
Many homeowners find that this clearing step takes a few hours but transforms how their garden looks. If you're managing multiple beds or large areas, professional garden clean-ups can handle this work efficiently and dispose of the debris properly.
Step 2: How to Prepare Garden Beds for Spring Planting
Once your beds are clear, it's time to prepare garden spring by readying them for new plants. Garden beds need good structure and nutrition to support spring growth.
Start by assessing what you're working with. Push a garden fork into the soil. If it barely goes in, you're dealing with compaction. Inner West soils are frequently a mix of clay, shale and fill, so drainage can be patchy.
Mix in compost or aged manure. Spread a 5-10 centimetre layer across your beds and work it in. This adds organic matter and feeds your soil.
If you're gardening in containers or raised beds, common in terraces, units and rentals, use a quality potting mix rather than garden soil. Potting mix is lighter, drains better and is formulated for container growing.
Check your soil pH if you're growing vegetables or acid-loving plants. Most vegetables prefer soil that's slightly acidic to neutral. A simple soil test kit from a garden centre tells you what you're working with.
Consider your planting plan before you finish preparing beds. Think about which plants go where. Taller plants should be at the back so they don't shade shorter ones. Group plants with similar water needs together.
When you're ready to plant, discover which native plants thrive in your garden and choose varieties suited to your space and climate.
Step 3: Eco-Friendly Weed Control for Gardens
Weeds compete with your plants for water, nutrients, and light. Spring is when they start growing fast, so controlling them now prevents months of trouble.
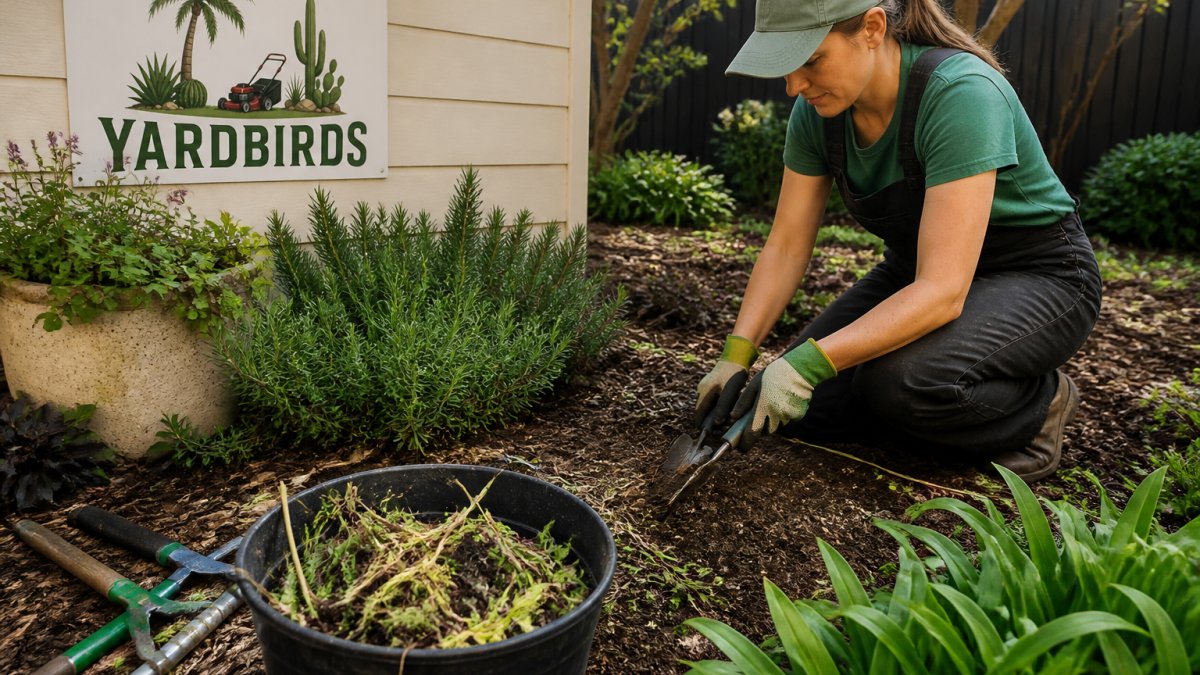
Hand-pulling works best for small infestations. Grab weeds at the base and pull steadily. Get the whole root out if you can. This works for young weeds before they establish deep roots.
For larger areas, mulch is your best friend. A thick layer of mulch (5-10 centimetres) blocks light and stops weed seeds from germinating. It also retains soil moisture and keeps roots cool. Use organic mulch like wood chips or straw.
Boiling water kills weeds instantly. Pour it directly on weeds in paths or between pavers. This works for established weeds and doesn't leave chemical residue. It's safe around children and pets.
Vinegar spray (undiluted white vinegar) burns down weeds on contact. Spray on a sunny day. This works best on young, tender weeds. Mature weeds often regrow from the root, so you may need to repeat applications.
Newspaper or cardboard under mulch creates a barrier that blocks weeds for months. Lay it down, overlap the edges, then cover with mulch. Weeds can't push through, and the paper breaks down as it feeds the soil.
Learn more about practical eco-friendly alternatives to chemical weed control to tackle spring weeds sustainably.
Step 4: How to Prepare Soil for Spring Growth
Soil quality determines how well your plants grow. Spring is the ideal time to build soil health before the busy growing season.
Test your soil. A basic soil test shows nutrient levels, pH, and organic matter content. Many councils offer free or low-cost testing. Results tell you exactly what your soil needs rather than guessing.
Add compost or well-rotted manure. Spread 5-10 centimetres across beds and dig it in. This boosts organic matter, improves soil structure, and feeds plants gradually. Organic matter acts like a sponge, holding moisture and nutrients where roots can access them.
Avoid compacting soil. Don't walk on freshly prepared beds. Stay on paths. Compacted soil restricts root growth and drainage. If you do walk on beds, loosen the soil again with a fork.
Consider a soil conditioner if your soil is very heavy clay or very sandy. Clay needs organic matter and grit to improve drainage. Sandy soil needs organic matter to improve water retention. A good conditioner helps both extremes move toward balanced, workable soil.
Mulch protects and feeds soil. It keeps soil temperature stable, reduces moisture loss, and breaks down to add organic matter. Fresh mulch in spring gives your soil a boost heading into the growing season.
Step 5: Mulch, Drainage, and Water Retention
Mulch is one of the most underrated tools in gardening. A proper mulch layer solves multiple problems at once.
Spread mulch 5-10 centimetres deep around plants and across beds. Keep it a few centimetres away from plant stems to prevent rot. Organic mulches like wood chips, straw, or shredded bark work best. They break down slowly, feeding soil as they go.
Mulch retains moisture. It shades soil and reduces evaporation. This means you water less often. In warmer months, this saves time and water.
Mulch keeps soil cooler. This protects roots from heat stress and reduces water loss. Cooler soil also supports more beneficial microbes.
Check your garden's drainage. Walk around after rain. Do puddles form? Does water drain quickly? Poor drainage causes root rot. If water sits, you need to improve drainage before planting.
Raised beds improve drainage naturally. If you have heavy clay soil, raised beds are worth considering. They warm up faster in spring and drain better all year.
Add organic matter to improve drainage in heavy soil. Work compost or aged manure into the top 20-30 centimetres. This opens up clay soil and helps water move through instead of pooling.
Step 6: Adjust Your Watering Schedule for Warmer Weather
Spring brings warmer days, which means plants need more water. Adjust your watering routine before growth accelerates.
Check soil moisture before watering. Push your finger 5 centimetres into the soil. If it's dry, water. If it's moist, wait. This prevents overwatering, which causes root rot.
Water deeply but less frequently. Shallow watering encourages shallow roots. Deep watering encourages roots to grow deeper, making plants more resilient. Water until soil is moist 20-30 centimetres down.
Water early in the morning. This gives plants water before heat stress hits. Morning watering also reduces fungal diseases that thrive in wet foliage at night.
Mulch reduces watering needs. A 5-10 centimetre layer cuts water loss significantly. This means you can water less often and still keep soil moist. Keep mulch a few centimetres clear of stems to avoid rot.
Consider drip irrigation or soaker hoses. These deliver water slowly at soil level. Less water runs off, and less evaporates. Plants get steady moisture without waste.
Capture rainwater where you can. Check local council rules on rainwater tank installation and any rebates available, requirements vary by council area (Rebates flow for rainwater tanks in Armidale Region Armidale Regional Council).
Adapt to dry spells and water restrictions. If restrictions are in place, prioritise new plantings, containers and vegetables, and let established lawns and hardy natives fend for themselves.
A comprehensive seasonal maintenance guide helps you extend these spring tasks into ongoing care throughout the year.
Spring Garden Checklist: Month-by-Month Tasks
Spring spans three months, and each brings different tasks. A month-by-month checklist keeps you on track.
Early Spring (September)
- Clear winter debris from beds
- Loosen and prepare soil
- Add compost or manure
- Prune dead wood from shrubs
- Check and repair garden structures
- Plan your planting layout
Mid-Spring (October)
- Plant warm-season vegetables
- Sow flower seeds directly
- Mulch beds heavily
- Adjust watering as temperatures rise
- Watch for early weeds and remove them
- Feed plants with balanced fertiliser
Late Spring (November)
- Plant tender annuals after frost risk passes
- Increase watering as heat builds
- Deadhead early flowers to encourage more blooms
- Check for pests and disease
- Stake tall plants before they get too big
- Finish planting before summer heat arrives
A comprehensive seasonal maintenance guide helps you extend these spring tasks into ongoing care throughout the year.
Spring garden work breaks down into three distinct phases, each with specific tasks to complete.
| Month | Tasks | Focus |
|---|---|---|
| Early Spring (September) | Clear debris, loosen soil, add compost, prune dead wood | Preparation and planning |
| Mid-Spring (October) | Plant vegetables, sow seeds, mulch, adjust watering | Active planting and feeding |
| Late Spring (November) | Plant annuals, increase watering, deadhead, stake plants | Final planting before summer |
Conclusion
Preparing your garden for spring takes time, but it pays off all season. Clear debris, prepare beds, control weeds, improve soil, mulch well, and adjust watering. Follow this checklist month by month, and your garden will thrive.
If managing these tasks feels overwhelming, professional help makes sense. The team at Yard Birds Sydney handles spring preparation across residential and commercial properties with eco-friendly methods and all-electric equipment. Contact Yard Birds for a free quote and let experienced hands prepare your garden while you focus on what matters most.
Frequently Asked Questions
When should I start preparing my garden for spring?
Begin preparation in late winter, typically 4-6 weeks before your last frost date. Early preparation allows time to clear debris, improve soil structure, and address drainage issues before active spring growth accelerates. Start with tidying and weeding tasks first, then move to soil enrichment and planting as temperatures warm.
How do I prepare soil for spring planting without harsh chemicals?
Work organic matter like compost or well-rotted manure into the top 15-20 centimetres of soil to improve soil fertility and structure. Top up mulch around plants to retain moisture and suppress weeds naturally. Test drainage by watering and observing how quickly water soaks in; if pooling occurs, add organic matter to improve water retention and prevent root rot during warmer months.
What is the best eco-friendly weed control for gardens?
Manual weeding by hand or with a hoe removes weeds before they set seed and is highly effective for small spaces. Mulching garden beds with 5-8 centimetres of organic material suppresses new weed growth. For established weeds, boiling water or vinegar-based sprays offer chemical-free alternatives. Regular maintenance prevents weeds from competing with your spring plantings.
Can I add new soil on top of old soil in my garden beds?
Yes, adding 5-10 centimetres of quality compost or garden soil on top of existing beds improves soil structure and fertility without removing old soil. This method works well for raised beds and containers. However, if drainage is poor or soil is compacted, lightly fork the existing soil first to break it up and allow the new layer to integrate, ensuring better root penetration and water movement.
Ready to get your garden spring-ready? Many homeowners find that a combination of their own work and professional support delivers the best results. Yard Birds Sydney offers tailored garden maintenance and lawn mowing across the Inner West, with a fully insured team committed to sustainable, quality care. Get a free quote today and discover how expert preparation transforms your outdoor space.